Maybe you sell your beer. Maybe you made your beer to give away to friends. Maybe you’re just a stickler for shiny colors on glass bottles. Whatever the reason, you want to make a beer label for your homebrew, and this thread will show you step-by-step exactly how to do that yourself for ALMOST totally free!
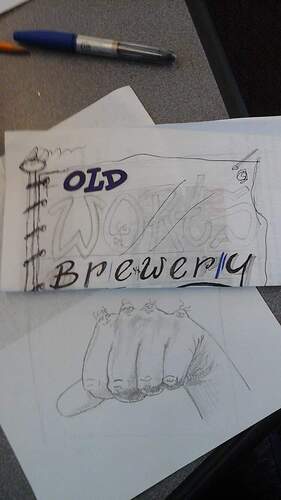
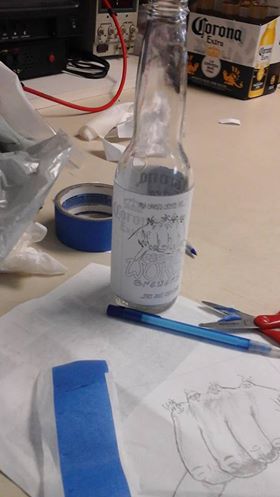
Today’s beer is Old Worts, a hoppy IPA blend with molasses. To protect their identity, I’m leaving out all personal details about this person. The client had an image they’d drawn on paper of a hand with warty knuckles each looking like one of his beer buddies. My first step was to re-draw it a little better than he had done, but however you get the final image you want to use, it has to be on paper in black and white first. If you want to sell your beer you need to have a written note by the artist releasing copyright to you for use of the image. If the image is copywritten you’ll have to modify it at least 35% in order to legally use it on your label. I recommend printing out words and cutting them out to glue them together with your image, creating something like this:
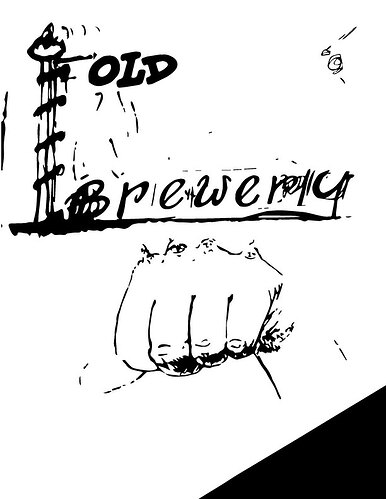
Now that we have some basic ideas drawn out on paper, and I recommend using trace paper in layers to redraw the image over and over until it looks right, using pencil first lightly then black marker to make heavier lines, we’re ready to scan this baby into a computer and make it into pure MATH baby! For this step we’ll be using any free online raster to vector converter to turn the pixely image into sharp, clean lines.
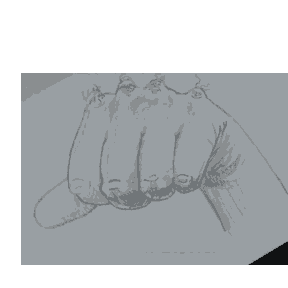
If your image is too light, go over it again with darker colors or redraw it again with less grey colors or you’ll lose detail like this:
Each area of black can be shifted around and edited using free websites that edit vector imagery. When you have a good vector image it’s time to upload it to the cheapest website you can find for label printing. The larger the printing company, theoretically, the more they can save customers, so don’t be intimidated out of trying the big companies first. A bundle of several hundred labels should cost between $1 and $.15 apiece, depending on how many you’re printing. Remember that the more you order the cheaper they are per unit, so make sure your design will survive several seasons and that you order enough to keep costs down.
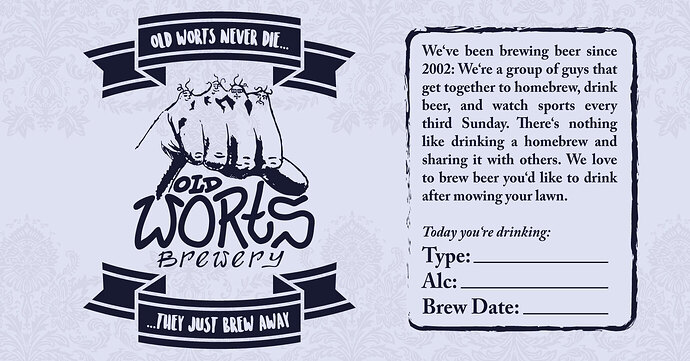
When you use these free online tools you save a ton of money paying someone like me to draw your idea. If you have a sketch, a doodle, a mascot or whatever already done, use this process to turn it into a vector image. You can see how nice the results can look here, with very little real effort or time.
Most online print websites will have an editor that allows you to shift your vector pieces around to any format or arrangement you can imagine. Use an online color palette creation tool to pick colors that look good together and color the pieces using the vector editing website. In the worst case scenario, any graphic designer worth their salt will be able to take a vector format file and edit it, and by providing that file you’ll be cutting down a lot on the designer’s time, saving even more money for yourself. Don’t be afraid of art, it’s no scarier than dumping mild acid all over your garage floor 
If you have questions or get stuck during this process feel free to message me, I’ll post the answers to any questions here and give future tutorials related to marketing and branding brews in the weeks to come. Thanks for reading, have a great weekend!
Well, I was happy to see some activity here, then I saw this dreck. Your posts have all been flagged as the spam they are, your product is ridiculous, and if you want to peddle trash like this, go do it elsewhere.

